

It has taken me a very long time to get around to finishing off the story of our van conversion. We’ve been too busy using it! There seems to have been a lot of interest in the topic recently, with van conversion page views increasing and sustaining, so I thought it was about time to complete the series of posts and finish our camper conversion journey (although, like home ownership, I am not sure we’ll ever be completely finished, with improvements being devised more or less every time we use it).
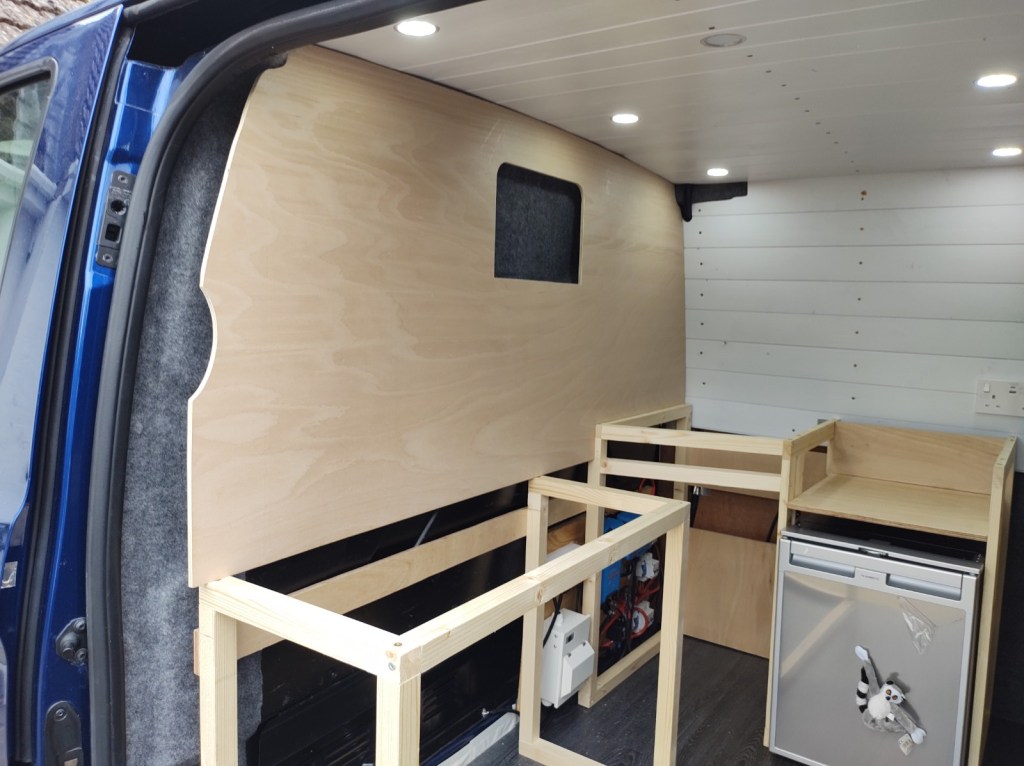
Having fitted the bed and made the removable leaf and support cubes, our focus moved to the kitchen area. As we had decided not to remove the bulkhead between the cab and the back, we were left with a solid ‘wall’ to fit a cupboard and worktop to.
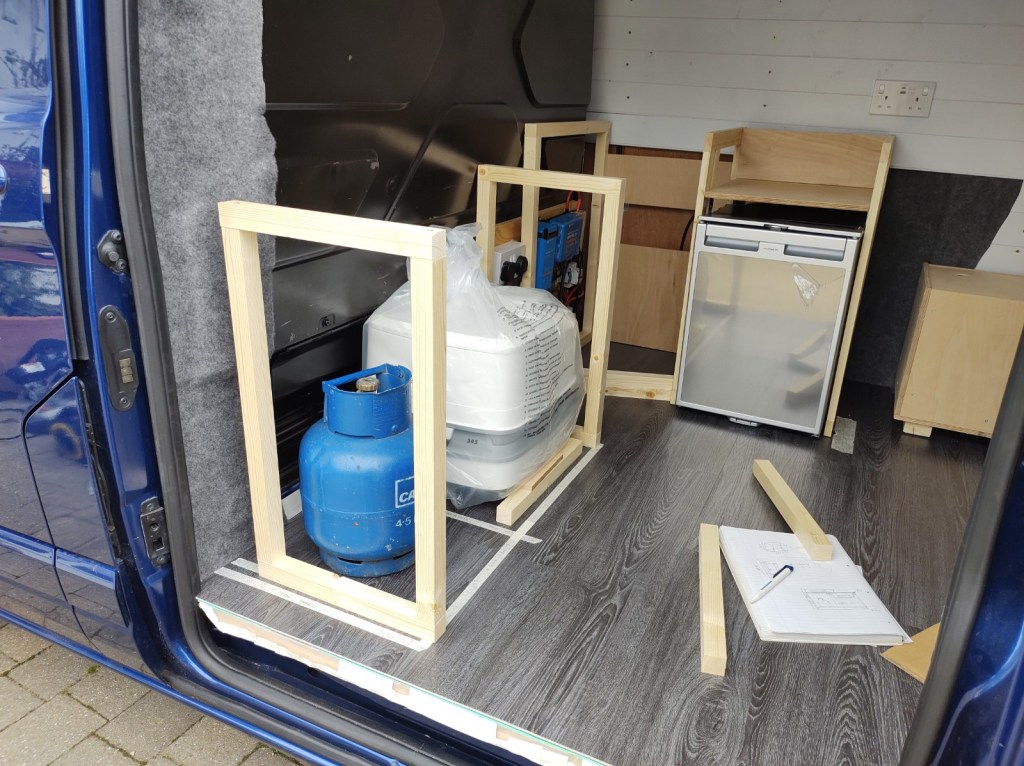
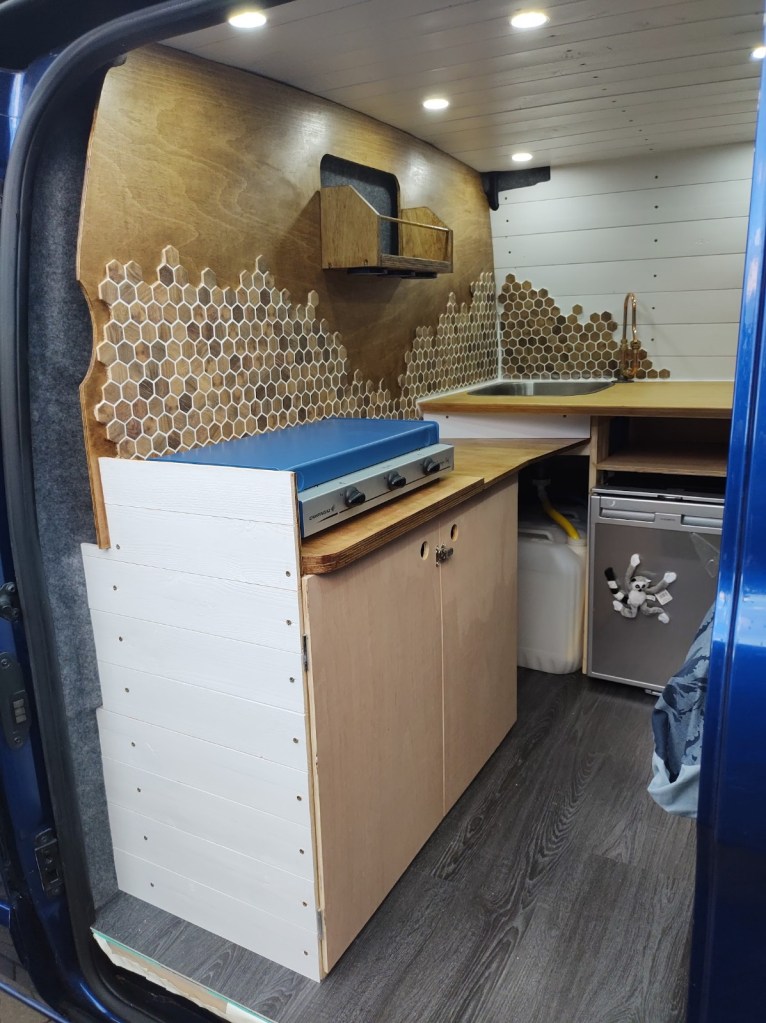
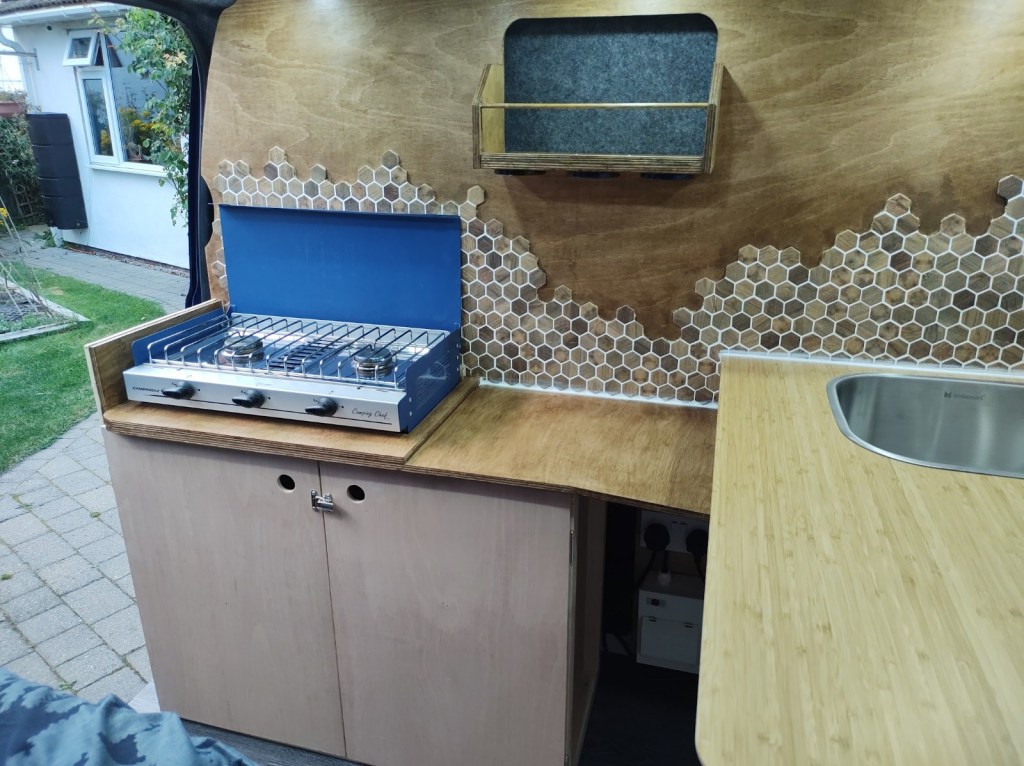
We wanted to fit a 2 ring camping gas cooker with grill, retention / storage for the gas bottle underneath, a sink (with fresh and grey water bottles underneath) and storage for a small chemical toilet in this small area. It took a while and much taping, measuring and cardboard templating to decide how to make best use of the available space.
We thought carefully about our normal routines and how we would want to use the space. When cooking on the stove, we would either be sitting on the end of the bed when the bed was made (to make morning tea), or on one of the storage cube stools when it was not, so the height of the cooker was set by the height of a saucepan and the level of the bed and storage cube. Unfortunately, this height severely limited the space under the sink for water bottles, so we opted for a two level design with two worktops perpendicular to each other and overlapping at different heights.
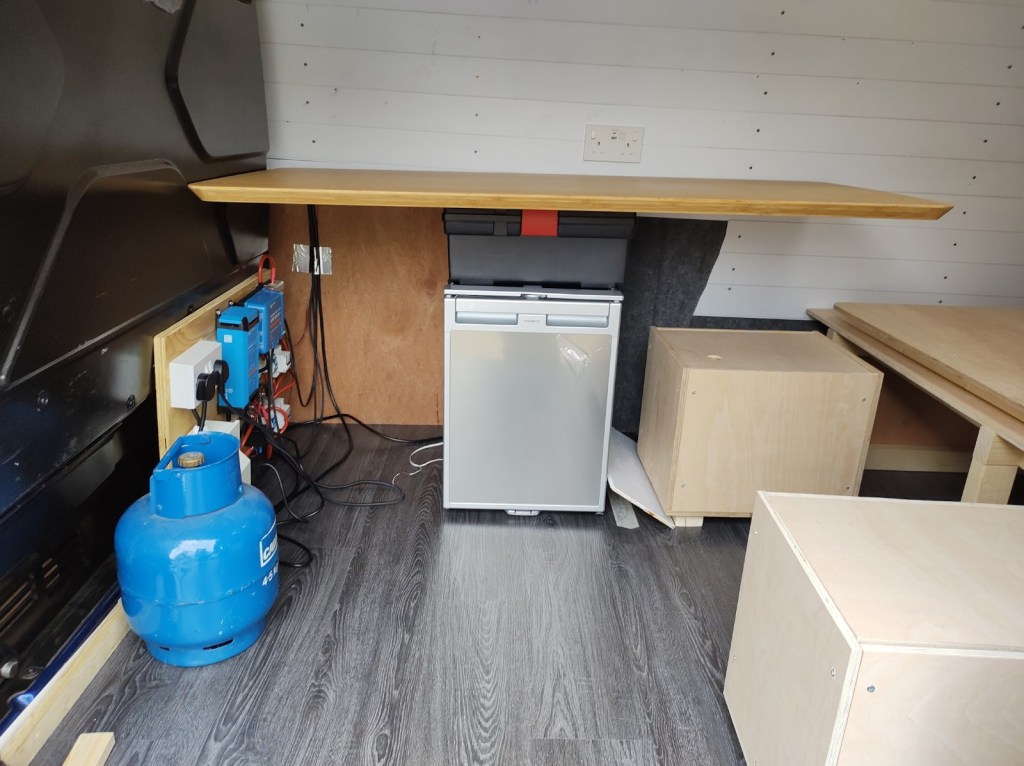

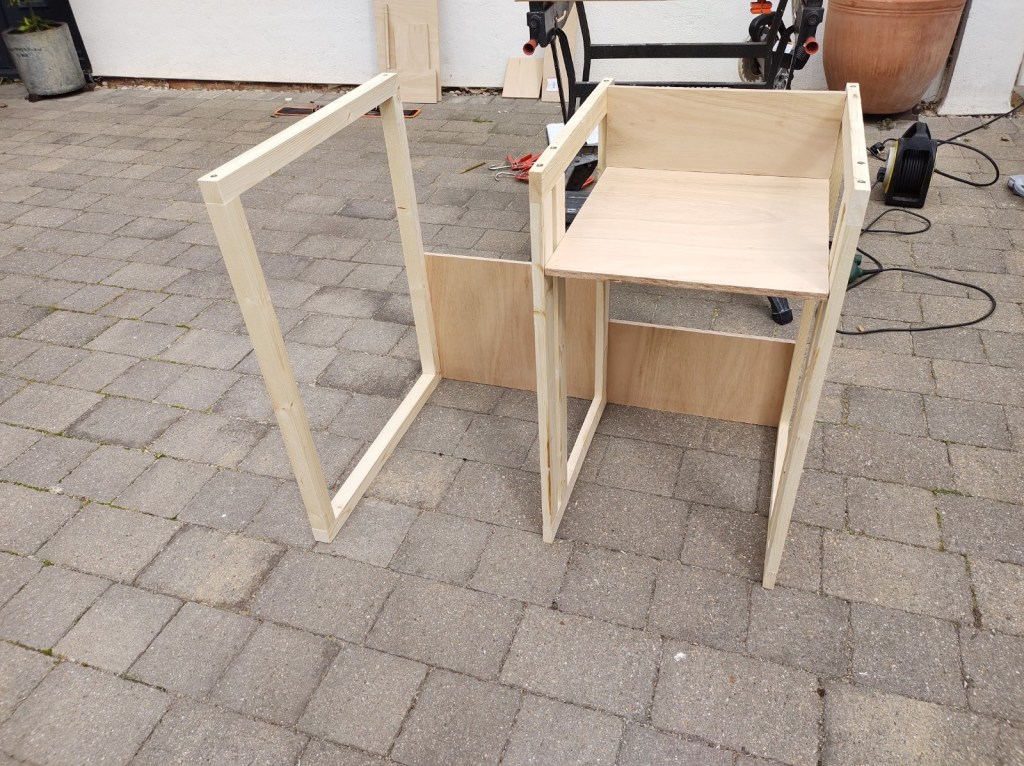
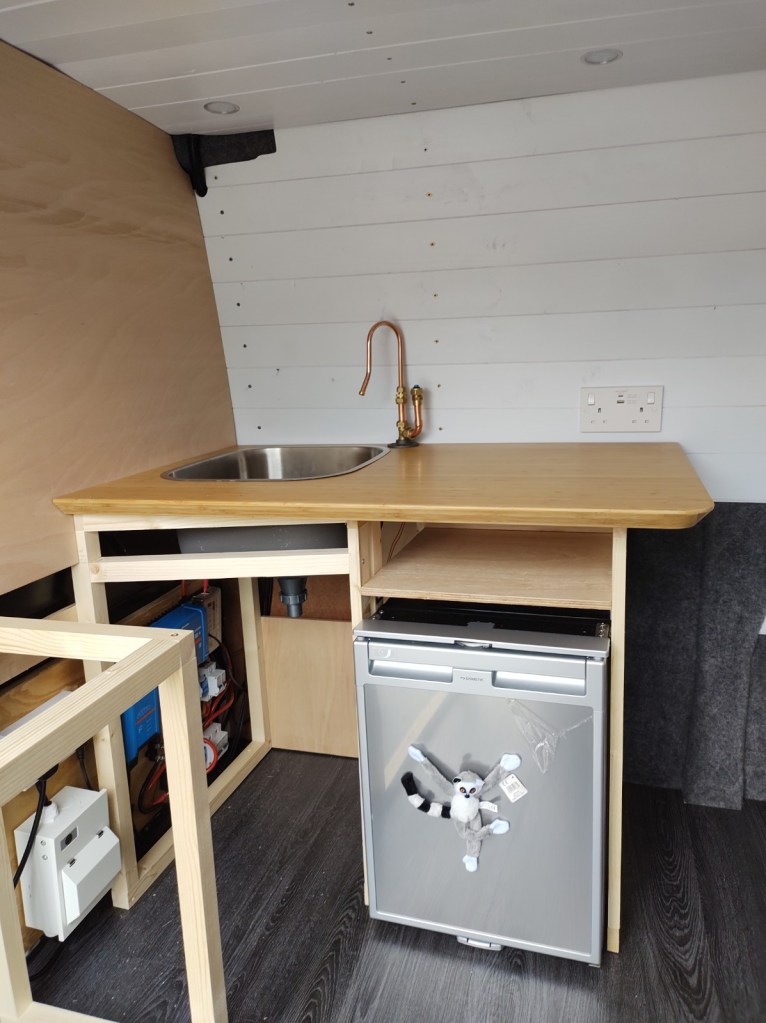
We started with the worktop over the fridge. By raising the height of this surface to allow for the waste connected under the sink – and for a couple of standard sized water bottles (25l), we created an additional storage space above the fridge. We were careful to allow for the ventilation space around the fridge defined by the manufacturer, so the fridge wouldn’t have to work too hard and increase energy usage.
The support structure was designed to fit around and between the electrical items fixed at the bottom of the bulkhead. The bottom of the frame on that side is positioned to stop the water bottles sliding against and potentially damaging, the battery and solar charge controllers (the two blue boxes).
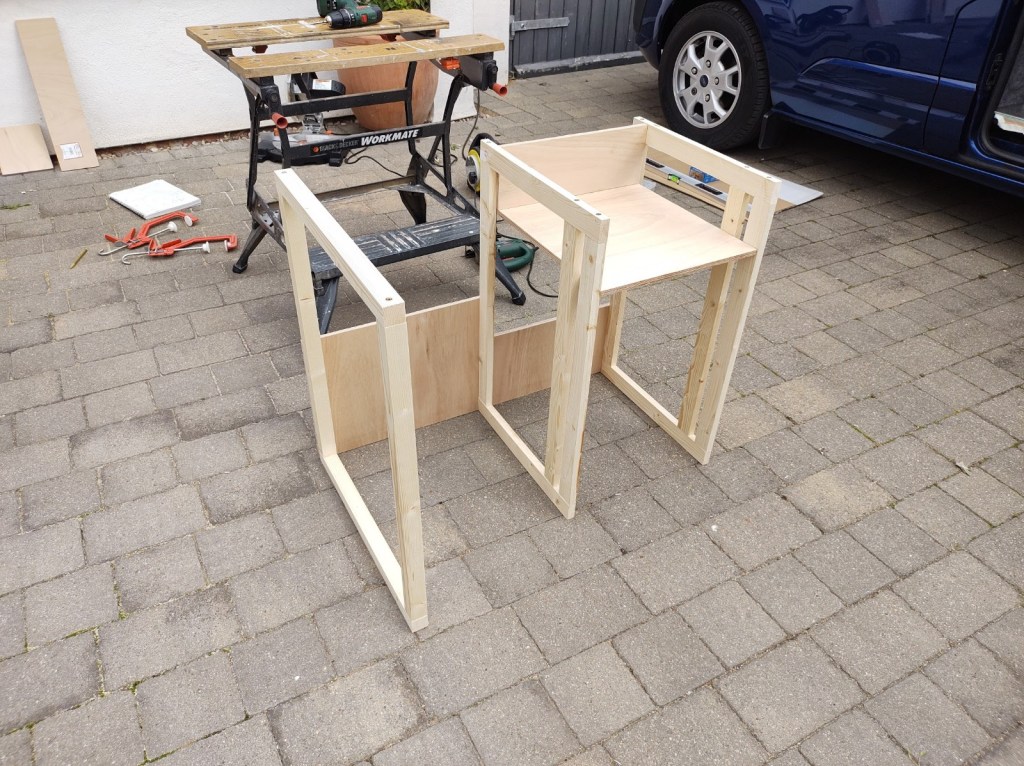
Once the fridge and sink unit was laid out, our attention turned to the cupboard and worktop that would run along the bulkhead dividing the load space from the cab. As well as allowing room to get the large water bottles in and out from under the sink, this needed to be just deep enough to house the gas cylinder for the cooker and the camping toilet. It also needed to be as slim as possible, to leave space to move around when the bed is in use. We bought the Thetford 345 porta potti when it was on offer on Amazon (which inexplicably coincided with Amazon sending me a random £15 off voucher – result!).
The cupboard frame was designed to have just enough clearance over the toilet to allow it to be easily moved in and out, but not so much that it would slide about and potentially get damaged in transit. There also had to be enough room to open and close the cupboard door with it on the floor outside the cupboard when the bed was in use.
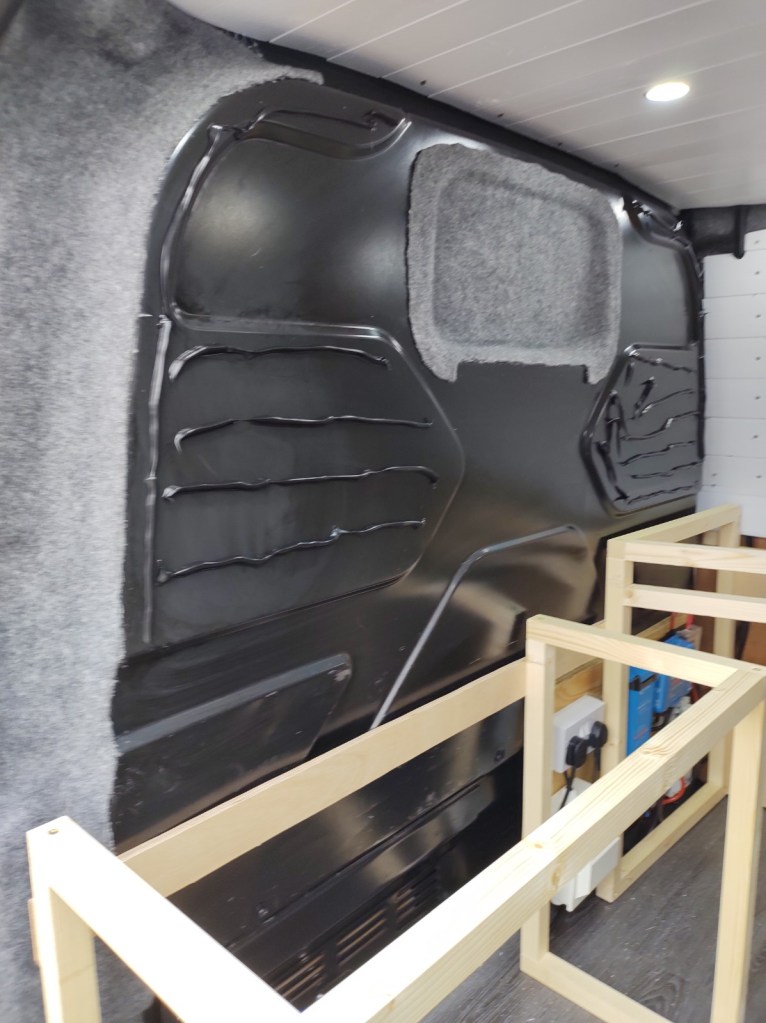
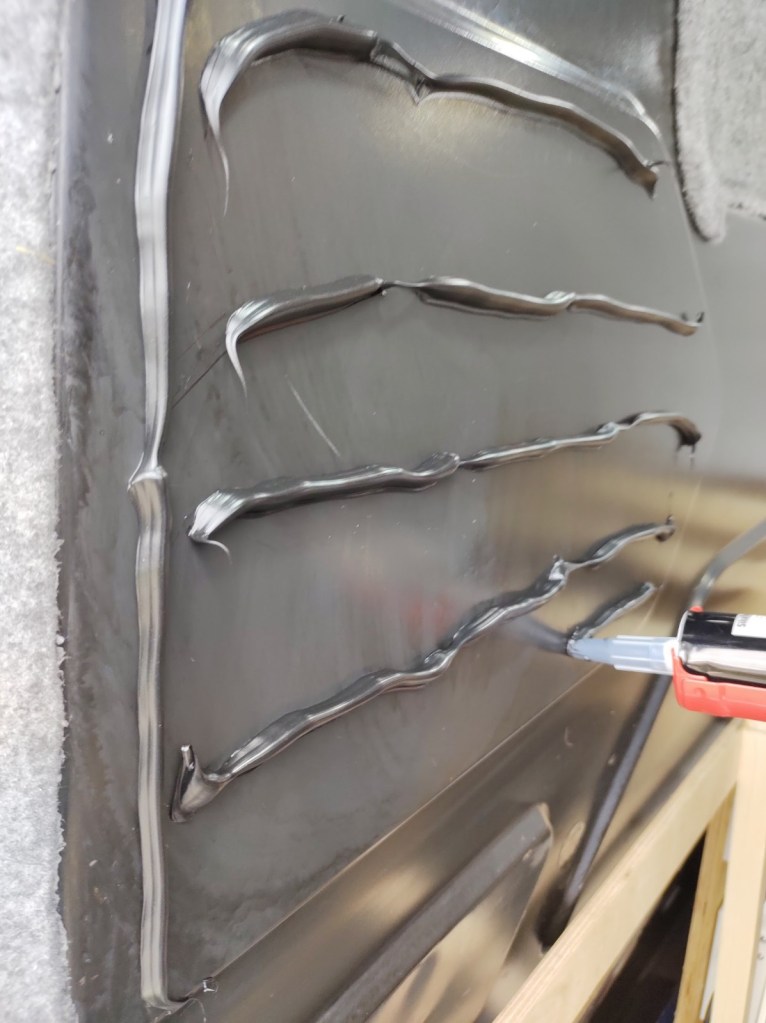
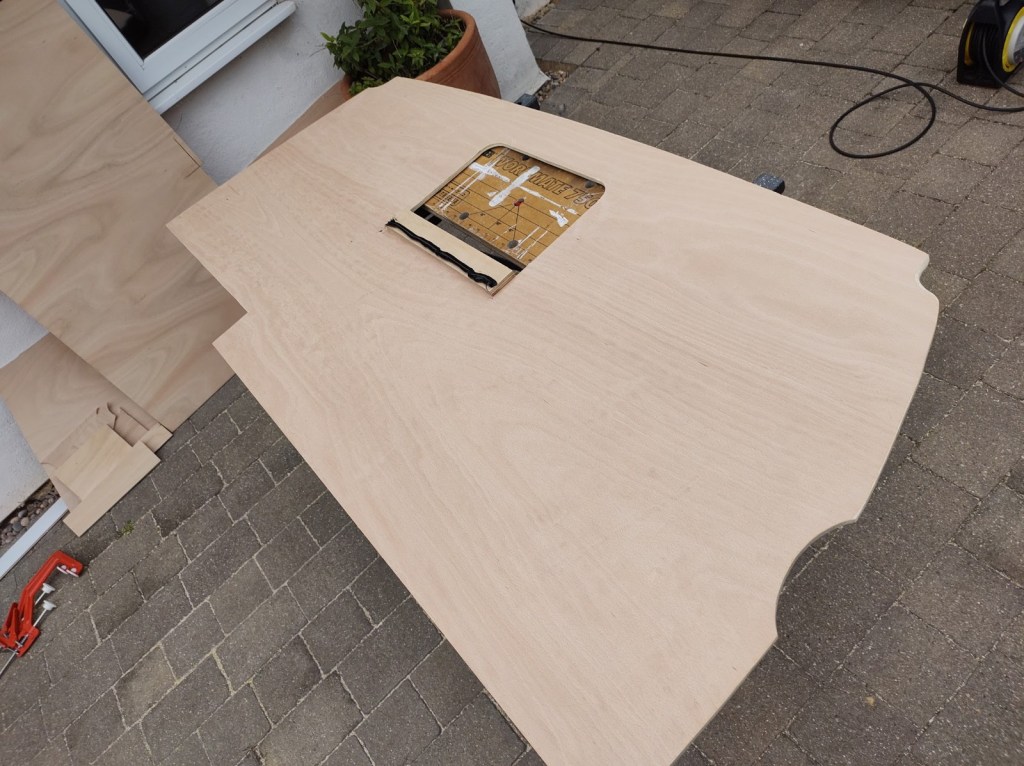
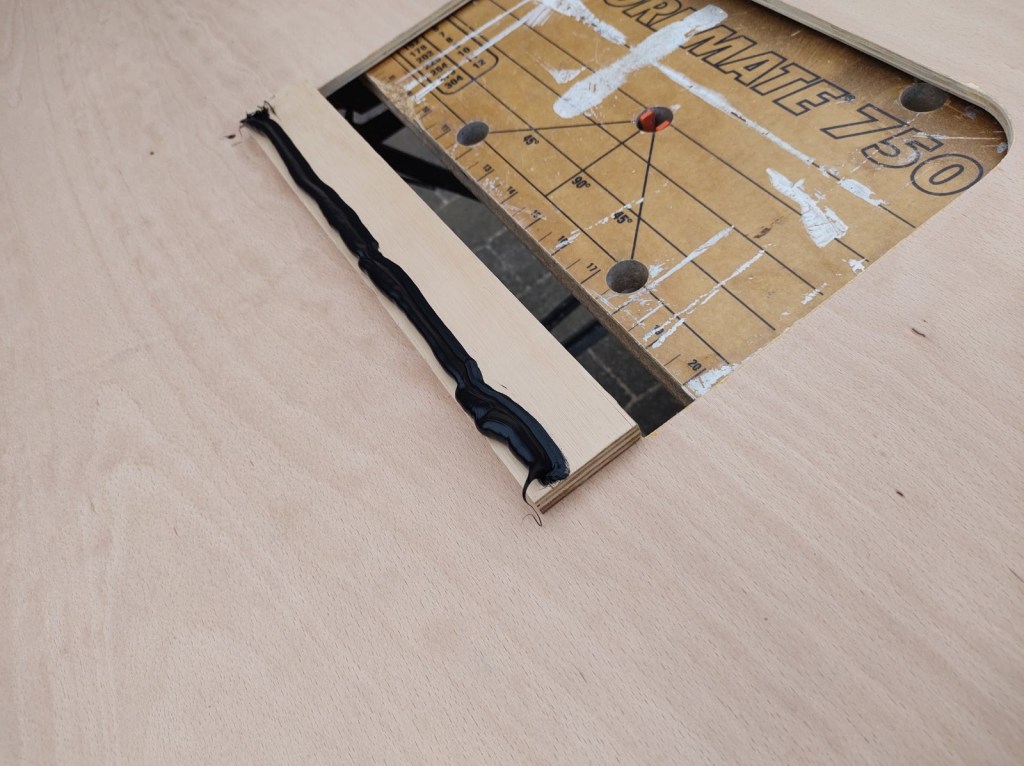
Before actually fixing the worktops, we had to resolve the finish on the bulkhead itself in the area which would be visible above the counter space. We decided to cut one large piece of ply to fit, with a window to align with the recess in the centre of the bulkhead pressing. This window was later turned into a shelf, another way to maximize space by allowing some items to be kept off the worktop (and retained in transit). We used carpet offcuts to finish the side nearest the door and inside the central recess, before using the same adhesive/sealant used on the rooflights to fix it in place. I just used a bit of coloured furniture wax to bring out the grain in the top layer of the plywood. As it was designed to rest on top of the worktop framework, the adhesive doesn’t take much weight. It is just enough to stop it falling forwards in transit-
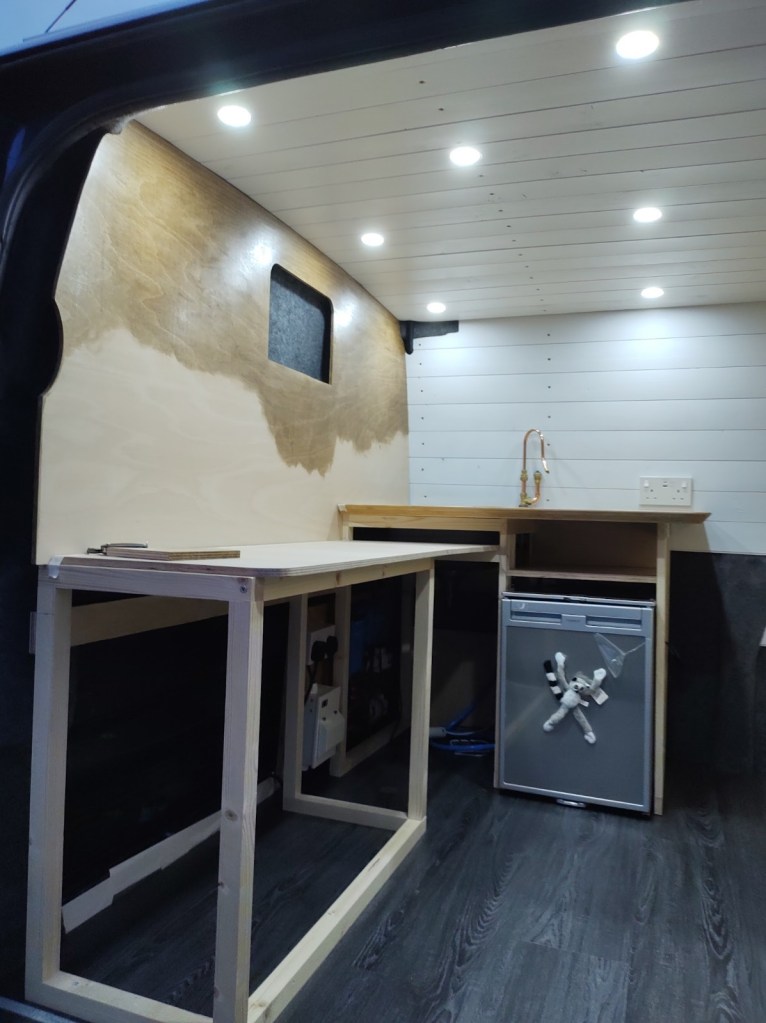
With the bulkhead cover bonded in place on top of the cupboard frames, they weren’t going anywhere. We could now fit the worktops.
We spotted an old Ikea tabletop on facebook marketplace for £10, which we cut down to fit the space above the fridge. It gave nice finished edges at the front and side which faces the bed. We left this tabletop so it slightly extended over the bed on one side. There is plenty of room for a duvet (and feet!) underneath, whilst also maximising worktop space.
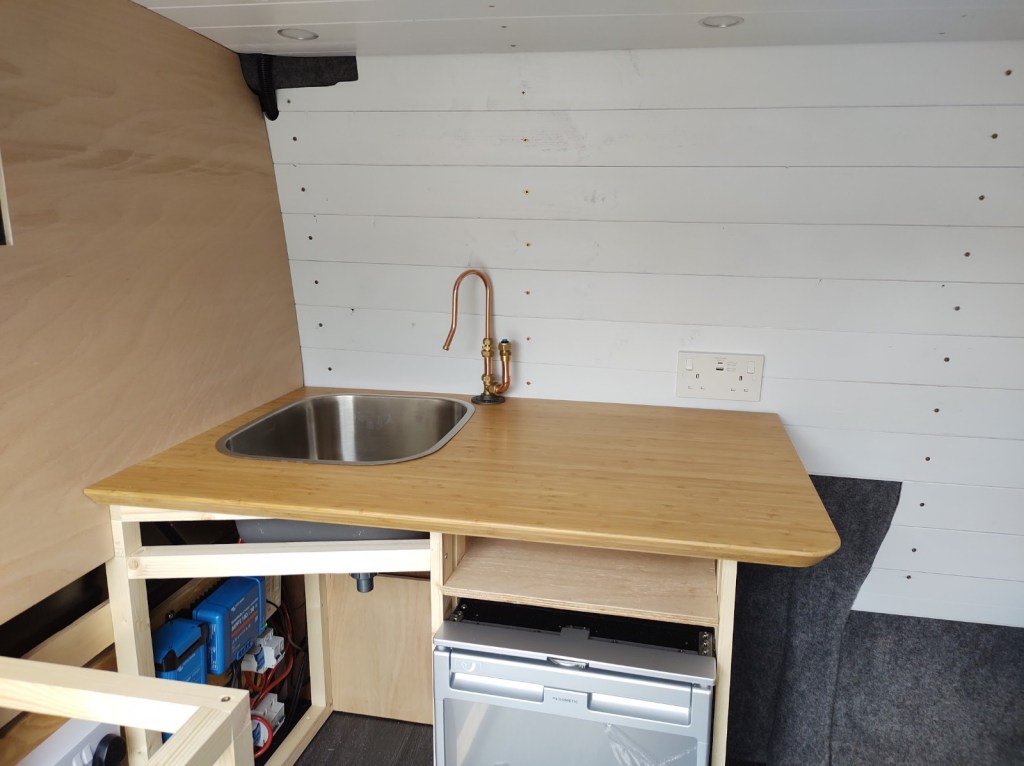
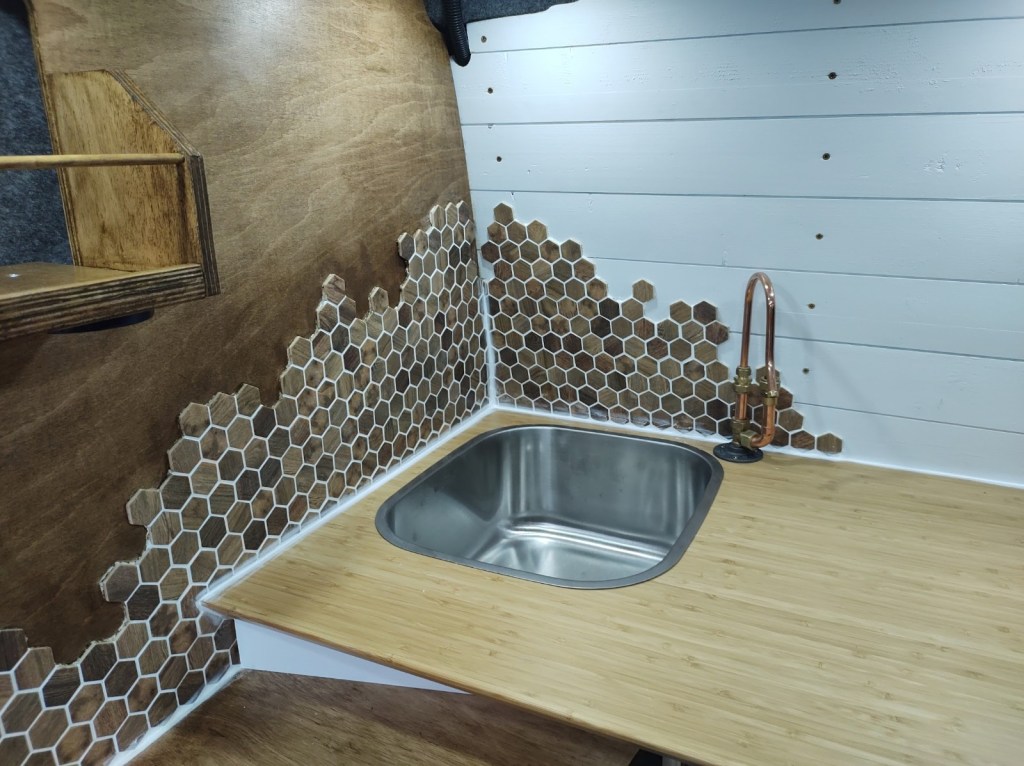
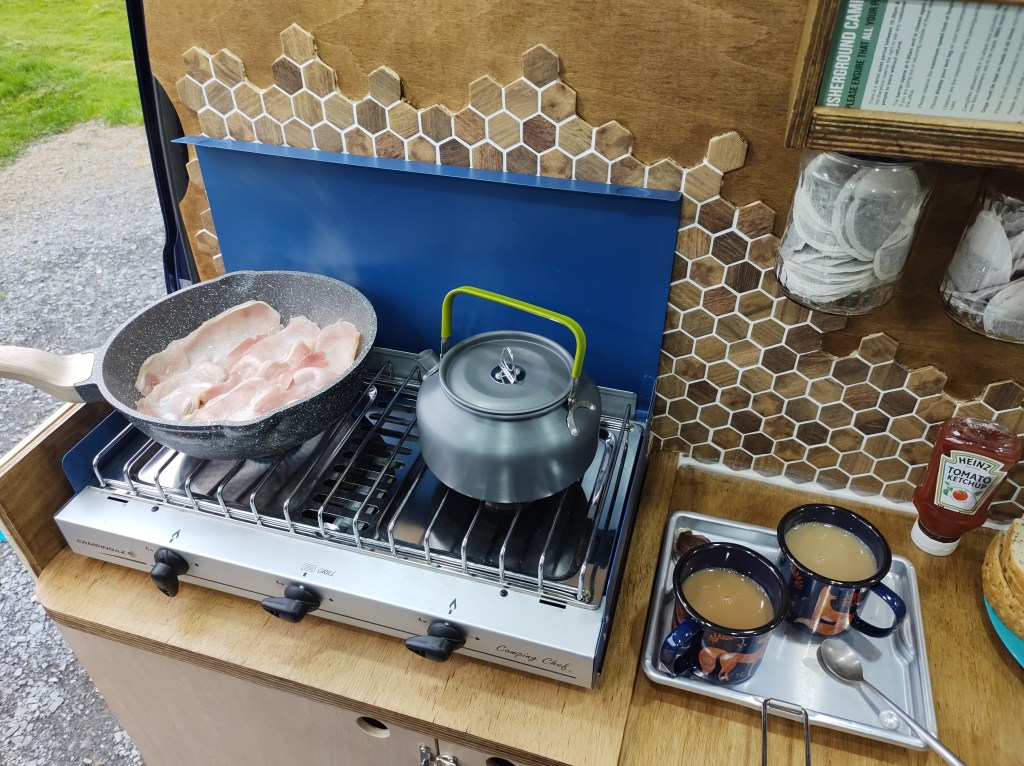
I can’t find the exact sink we bought now, but it came from Amazon, and was very similar to this one. We wanted it to be large enough to wash up a medium sized pan, for when we were not on a campsite. Speaking of pans, selecting which ones to take with us wasn’t easy. You have to be very selective if you want to fit 2 pans side by side at the same time on the twin camping gas rings we had (also bought locally on facebook marketplace). We opted for a deep lidded frying pan/ stir fry pan and small saucepan, which covers pretty much all our needs.
Having looked at a few options, we opted for this tap and pump kit from Ebay which came with hose and jubilee clip as well as Whale pump and a quirky, but compact tap. It was £52 when we bought it in 2021 – guess that’s inflation for you. It’s a simple submersible pump that we just had to drop into the fresh water bottle.
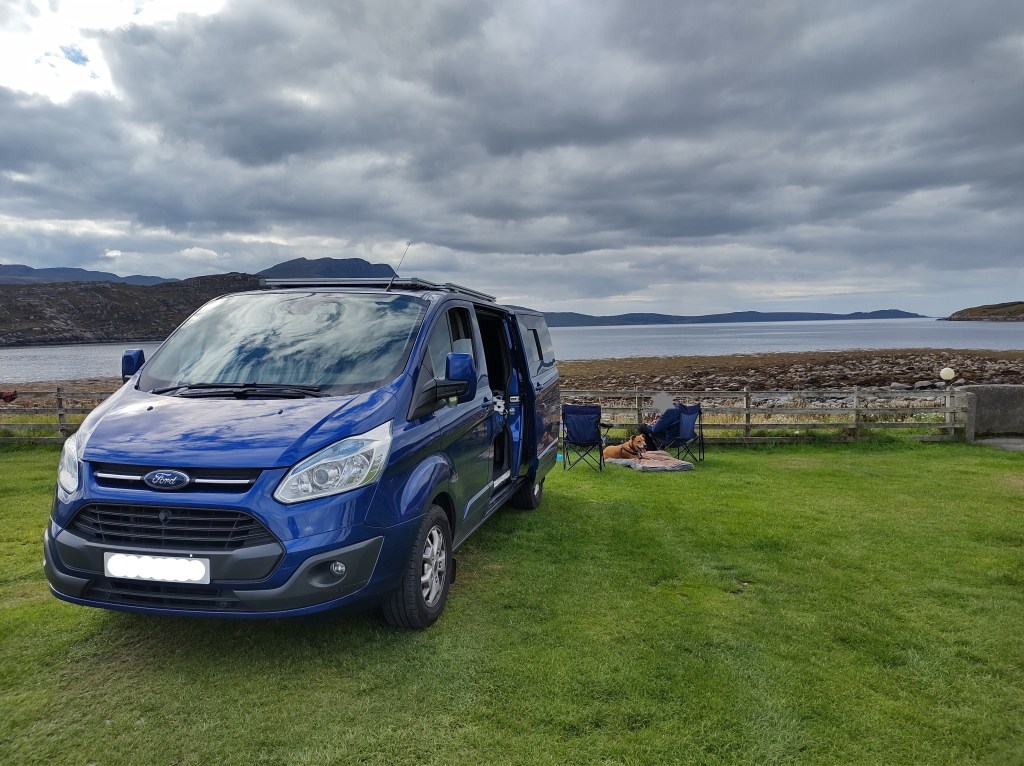
By the time we got to this stage in the build, we only had days left before our first trip (our version of the North Coast 500 in Scotland). Things were more than a little hectic, and we weren’t quite so disciplined in taking photos of everything. We made a box for the gas cylinder of similar construction to the storage cubes which support the removable bed leaf. The stick framework inside the corners of the box centres the cylinder and stops it moving around in transit. We sealed this box all the way around, but as the lid drops in, and has a cut out where the gas feed line exits, it is not completely sealed. Butane is heavier than air, but as there is no vent from the sealed box to outside, I’m not sure how effective it is in reality for anything more than a very minor leak, so we always close the valve on the cylinder when the cooker is not in use.
We added an extra layer of ply on the lower worktop around the cooker with a cut out in it, which the cooker drops into to stop it sliding about. Simple thin ply cupboard doors had finger holes cut in and push catches added and a latch on the ouside to ensure they are secure in transit. We also used some painted offcuts of cladding to tidy up the end face of the cupboard that you see when you open the main van door. We have done something similar on the side of the fridge (facing the sofa when the bed is not made up). Then we just had some splashback tiling to do before we were ready for our first van adventure! I actually added a couple of carpet offcuts to the rear door straps as well, to get rid of the incongruous florescent yellow.
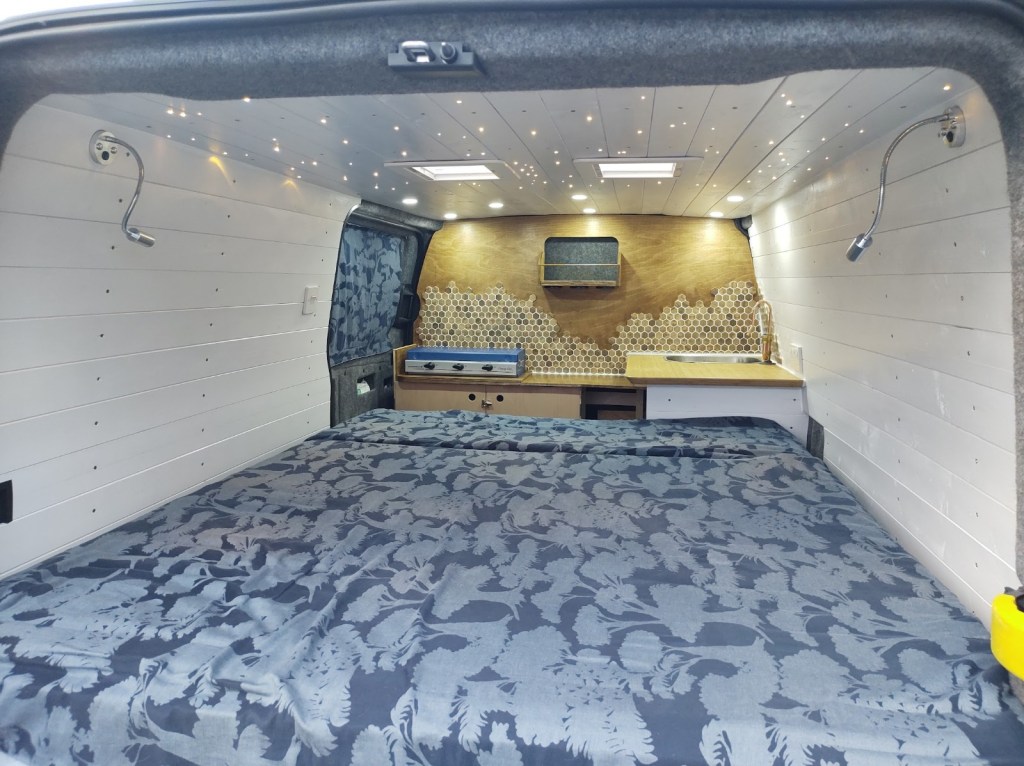
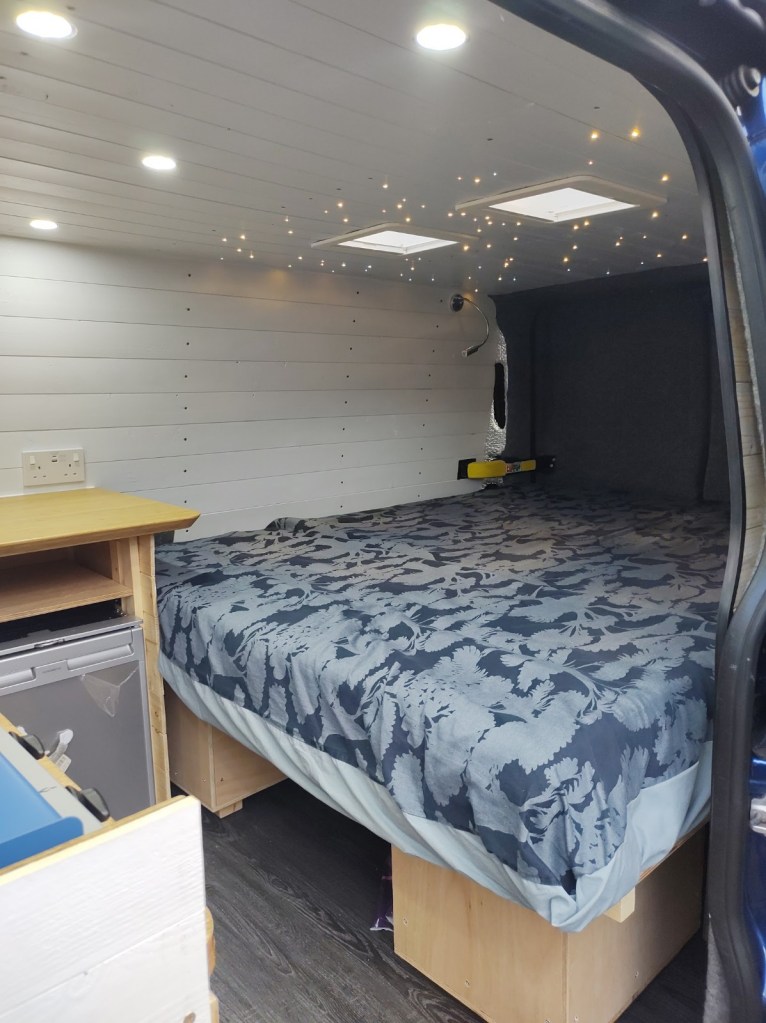

The trip was a great success and all the thought and planning that went into working out how we would use the space, definitely paid off. We have since added a drawer over the fridge (known as the everything drawer), a peg board above the worktop to the right of the sink, and a magnetic knife rack on the bulkhead wall above the sink. The last photo below shows most of these things, on the day we moved out of our house and into a van, but that’s another story……..
We have noted the need for somewhere better to store our clothes than on the end of the bed, so we may add some elastic pockets either side of the bed in the future, but we have coped with out until now. It would also be good to have some storage for a pans and a few cooking essentials without having to pull boxes out from under the bed – as this has to be done from the rear when it is in ‘bed’ mode rather than ‘sofa’ mode. We are thinking about how we can incorporate some kind of slide out feature above the toilet and / or gas cylinder.


Congrats to you both for an amazing van conversion job. You should both be proud of all the hard work you have put into this project, it has certainly paid off.
LikeLiked by 1 person